Learn how to create and manage sections within your BOM
- You begin the BOM by manually entering the products or utilize the import products feature to upload a BOM file (e.g. schedule, quote).

- The list of products will automatically appear within the original Section. If you want to make any modifications, double click into New Section to rename the Section.

- To create another, select Create Selection icon
 . A new Section will appear where you can double click into New Section to provide a name.
- To rearrange your products into Sections, select the respective checkboxes and click the
 icon. A menu will appear for you to select the Section to move the products to and click Move. You can also hover over the
  next to the line items to drag and drop to different sections.
- To rearrange your Sections, hover over next to your Section name. Then drag and drop to reorder the Sections within your BOM.
- Once you're ready to compile your package, you will have the option to add a page break between your Sections on the Customize Package screen. Click on Create Document > Create Submittal or O&M. Navigate to the Contents Formatting Section and toggle on Add Section Breaks if you want page breaks between each Section.
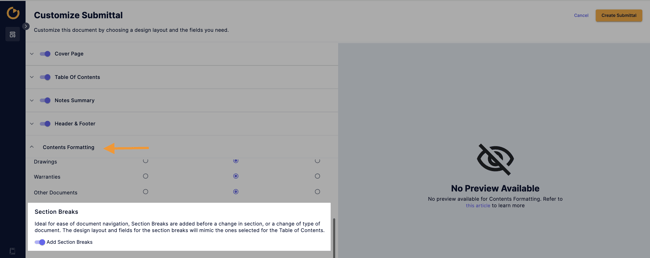
Preview:
Table of Contents 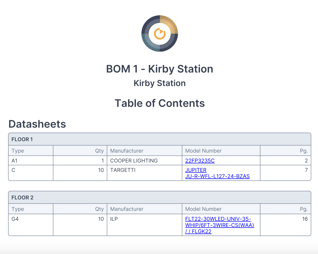
Notes Summary 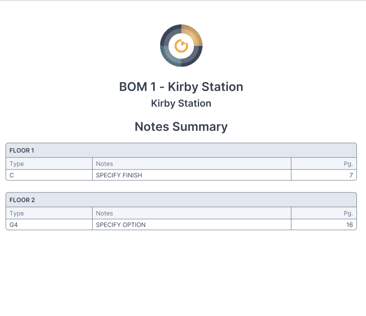
With Section Breaks 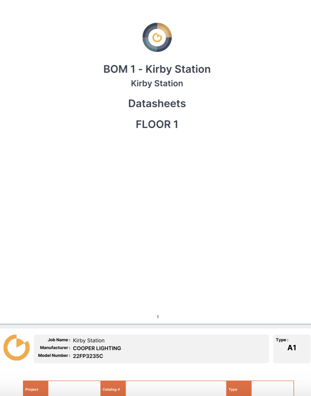
Without Section Breaks No Page Breaks