As an Admin, learn how to mass upload company and customer contacts into Parspec so information can populate when creating a Quote, Submittal, or O&M. Users can also create new contacts and edit existing.
- Bulk Import Companies and Contacts
- Create Company Contact
- Create Individual Contacts
- Apply Customer Information to Quote, Submittal and O&M
Bulk Import Companies and Contacts
- As an Admin, click on Bulk Import and download the Contact File Template.
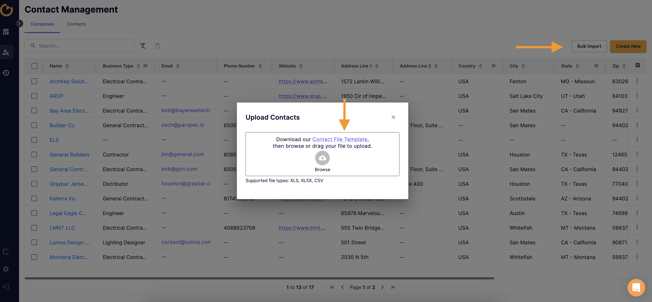
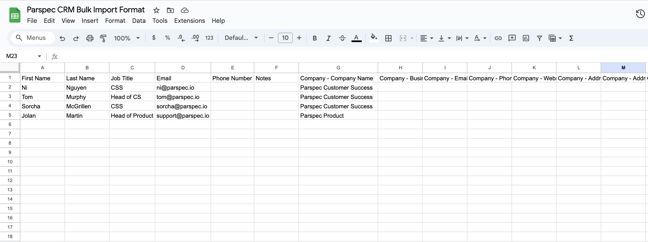
- Key in or copy and paste the information to the Contact File Template. When completed, upload the template. Note: First Name, Last Name, and Company are mandatory fields.
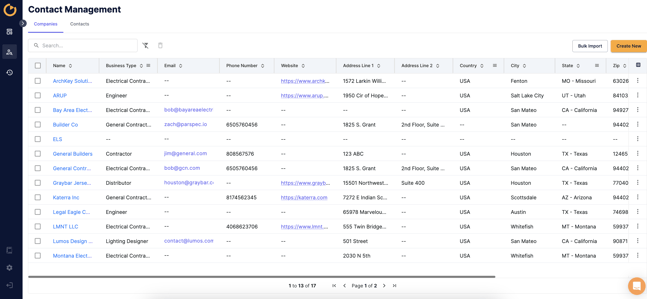
- Your Company and Contact will automatically upload to the Contact Management dashboard for you to review.
Merge Existing Contacts
- As an Admin, you can pick two companies you want to merge, click on their entries, then hit the Merge icon to combine their company details or contact info.

- Choose the main record you want to keep. The other record will merge into it, including any projects and BOMs linked to it.

Create Company Contact
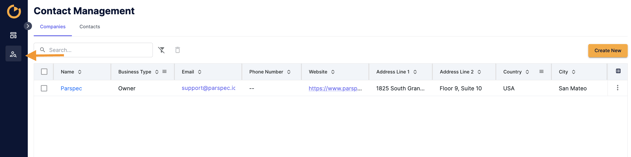
- As an Admin or User, you can click into the Contact Management icon to create a new Company contact.
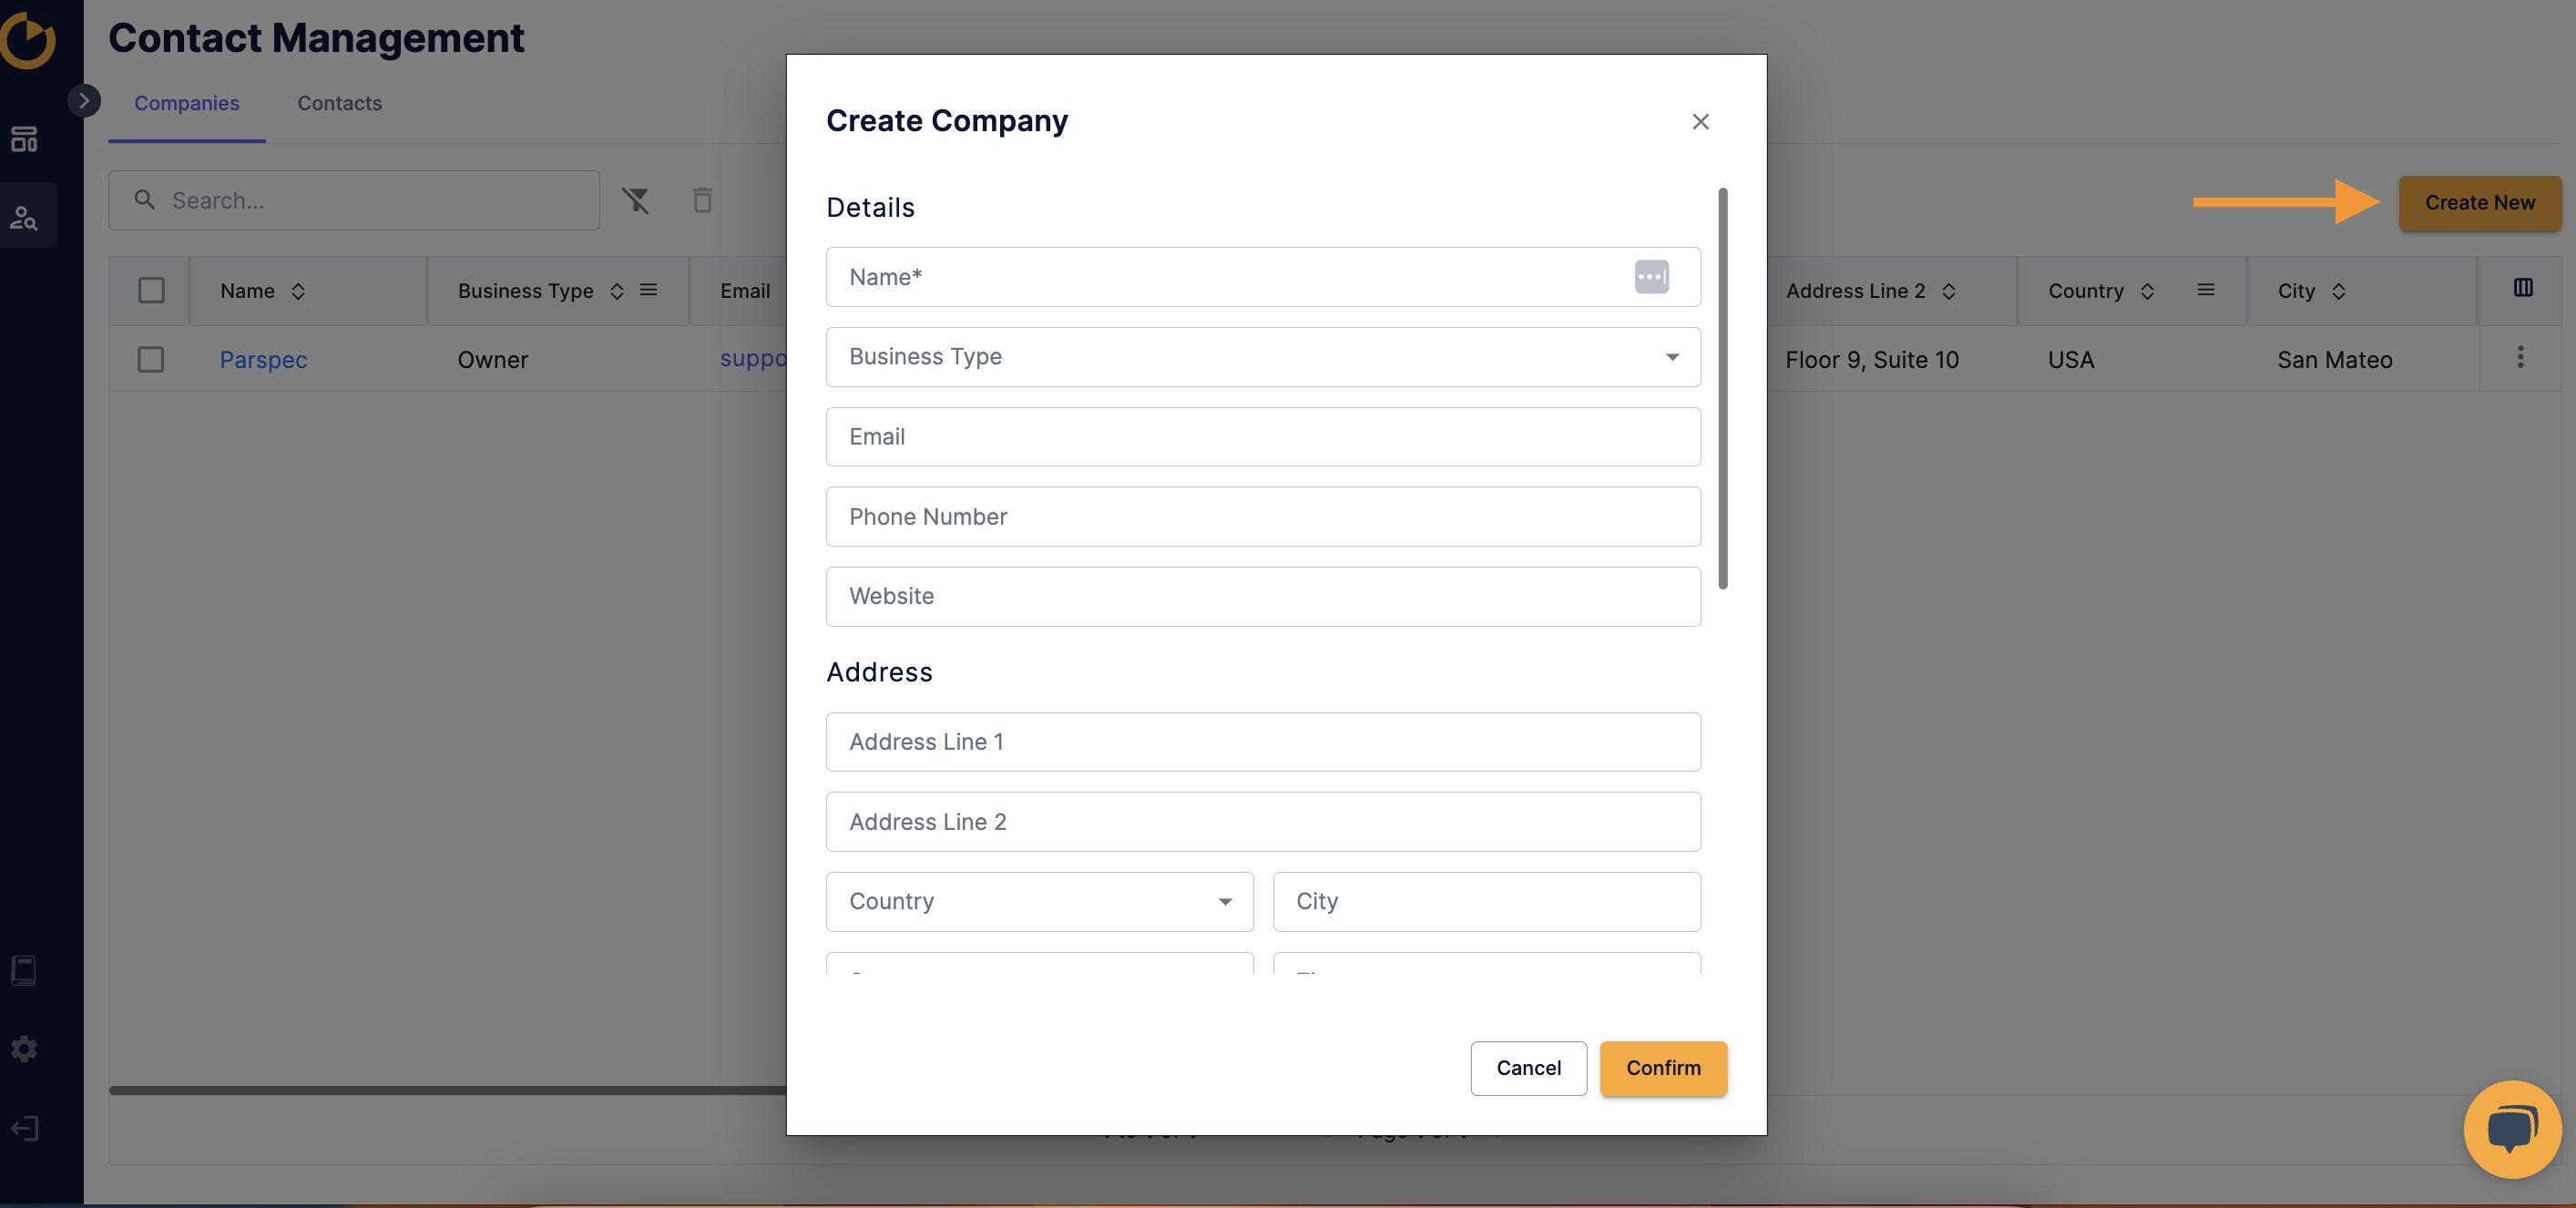
- Next, select Create New and enter in company information.
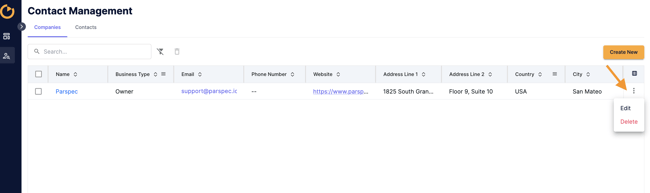
- As an Admin or User, you can edit an existing Company contact by selecting the three vertical dots, however only an Admin can delete a contact.
Create Individual Contacts
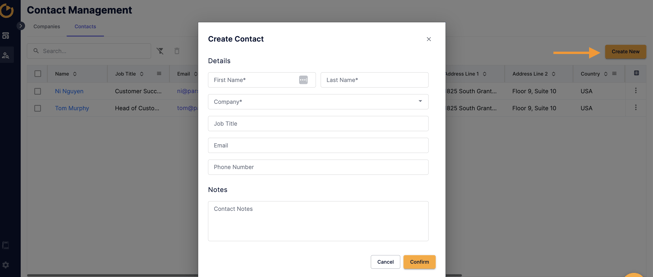
- Both an Admin and User can click into the Contact Management icon and select the Contacts tab to create a new contact.

- Next, select Create New and enter in the contact information.
Note: Individual contacts are linked to a company. A Company contact will need to be created prior to the contact so the company information (e.g. address) can populate into the contact information.
Apply Customer Information to Quote, Submittal and O&M
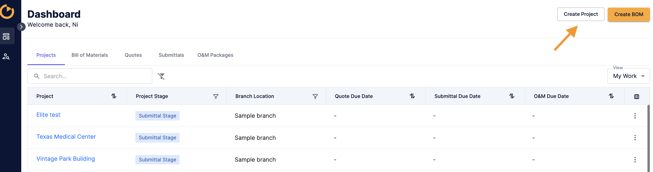
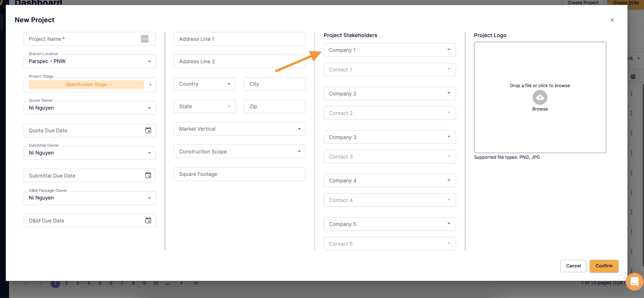
- Start a job by selecting Create Project.
- You can select any of the stakeholder field and begin typing. The contact in your Contact Management will begin to populate.
- After creating the project, select Create BOM. You can select the company or individual contact for your Primary and/or Secondary customer.

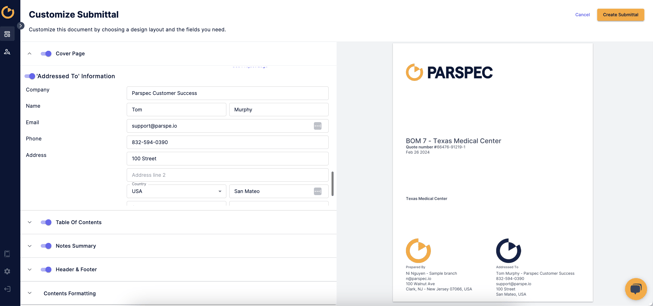
- When ready to create your Quote, Submittal, or O&M, you will see all of your inputted information from above populate into the Cover Page.